主要流程
URDF 与 Gazebo 集成流程与 Rviz 实现类似 主要步骤如下:
创建功能包,导入依赖项
编写 URDF 或 Xacro 文件
启动 Gazebo 并显示机器人模型
集成流程
创建功能包
导入依赖包: urdf、xacro、gazebo_ros、gazebo_ros_control、gazebo_plugins
编写URDF文件
<!--
    创建一个机器人模型(盒状即可),显示在 Gazebo 中
-->

<robot name="mycar">
    <link name="base_link">
        <visual>
            <geometry>
                <box size="0.5 0.2 0.1" />
            </geometry>
            <origin xyz="0.0 0.0 0.0" rpy="0.0 0.0 0.0" />
            <material name="yellow">
                <color rgba="0.5 0.3 0.0 1" />
            </material>
        </visual>
        <collision>
            <geometry>
                <box size="0.5 0.2 0.1" />
            </geometry>
            <origin xyz="0.0 0.0 0.0" rpy="0.0 0.0 0.0" />
        </collision>
        <inertial>
            <origin xyz="0 0 0" />
            <mass value="6" />
            <inertia ixx="1" ixy="0" ixz="0" iyy="1" iyz="0" izz="1" />
        </inertial>
    </link>
    <gazebo reference="base_link">
        <material>Gazebo/Black</material>
    </gazebo>

</robot>
launch文件编写
<launch>

    <!-- 将 Urdf 文件的内容加载到参数服务器 -->
    <param name="robot_description" textfile="$(find demo02_urdf_gazebo)/urdf/urdf01_helloworld.urdf" />

    <!-- 启动 gazebo -->
    <include file="$(find gazebo_ros)/launch/empty_world.launch" />

    <!-- 在 gazebo 中显示机器人模型 -->
    <node pkg="gazebo_ros" type="spawn_model" name="model" args="-urdf -model mycar -param robot_description"  />
</launch>
代码简介
<include file="$(find gazebo_ros)/launch/empty_world.launch" />
<!-- 启动 Gazebo 的仿真环境,当前环境为空环境 启动gazebo_ros功能包下的launch文件夹下的empty文件-->


<node pkg="gazebo_ros" type="spawn_model" name="model" args="-urdf -model mycar -param robot_description"  />
<!--
    在 Gazebo 中加载一个机器人模型,该功能由 gazebo_ros 下的 spawn_model 提供:
    -urdf 加载的是 urdf 文件
    -model mycar 模型名称是 mycar
    -param robot_description 从参数 robot_description 中载入模型
    -x 模型载入的 x 坐标
    -y 模型载入的 y 坐标
    -z 模型载入的 z 坐标
-->
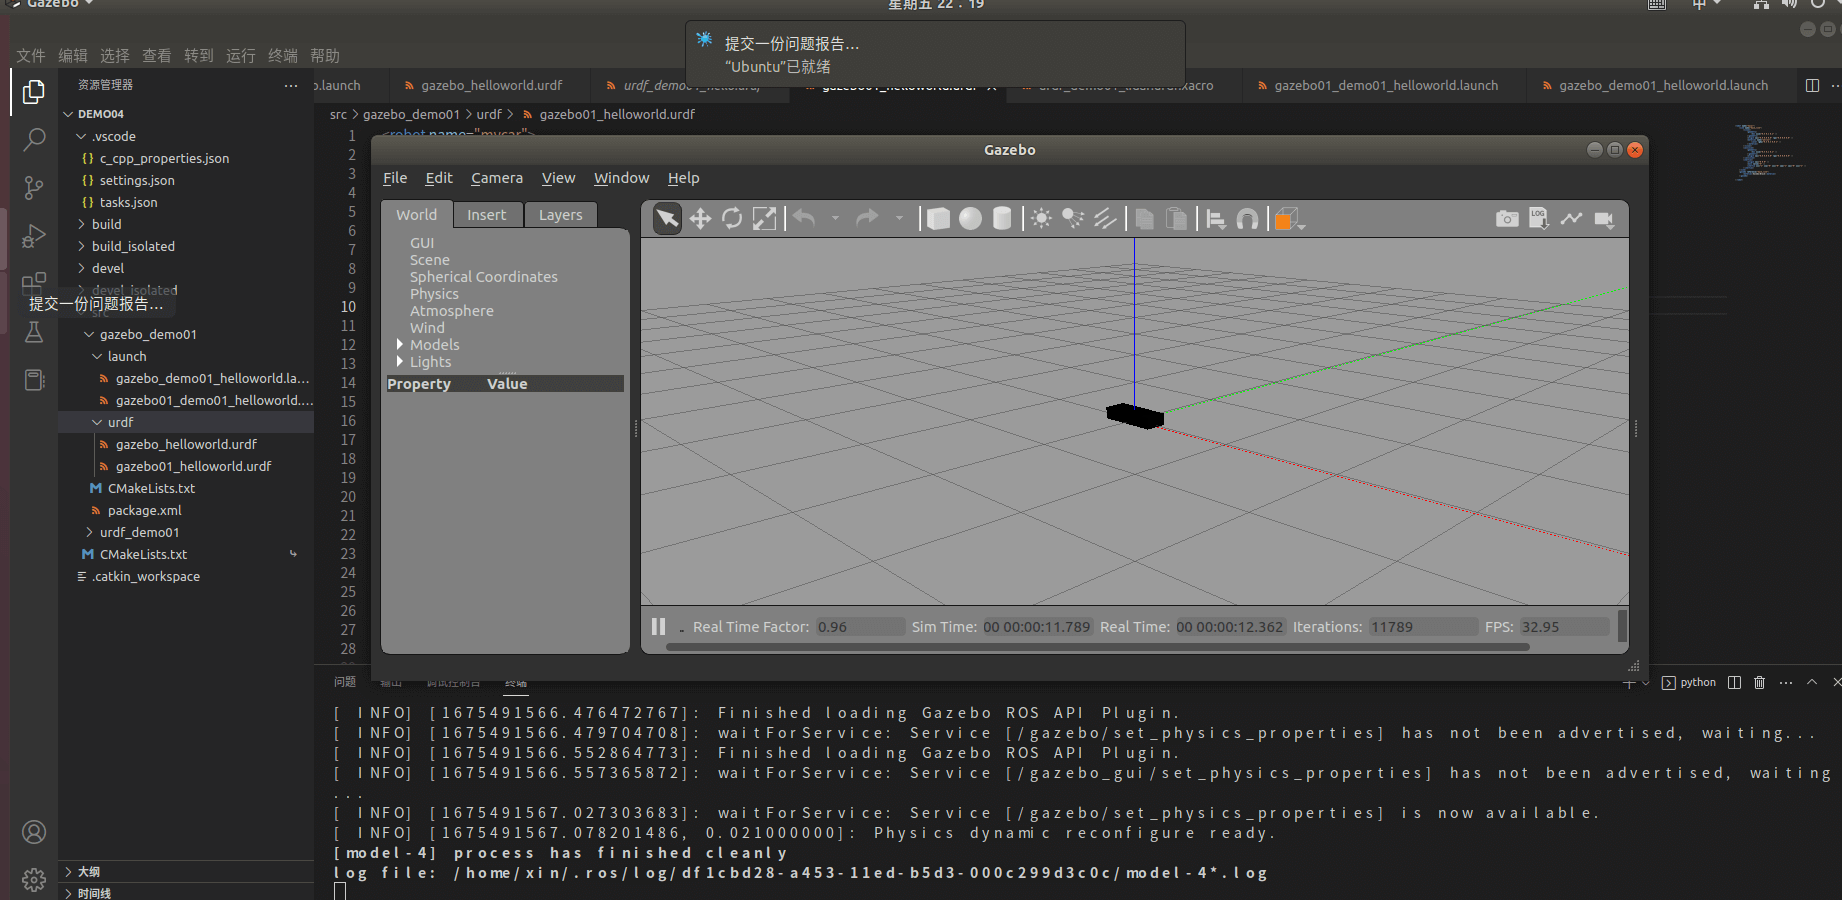
最终现象

与RVIZ区别
1.必须使用 collision 标签,因为既然是仿真环境,那么必然涉及到碰撞检测,collision 提供碰撞检测的依据。
2.必须使用 inertial 标签,此标签标注了当前机器人某个刚体部分的惯性矩阵,用于一些力学相关的仿真计算。
3.颜色设置,也需要重新使用 gazebo 标签标注,因为之前的颜色设置为了方便调试包含透明度,仿真环境下没有此选项。
